Gardening Talks ft. _the_plantomaniac
When you are a gardener, you know how important soil is for plants. Soil plays the most important role in the healthy growth of any plant. So this weekend we are going to answer some interesting questions on the soil.
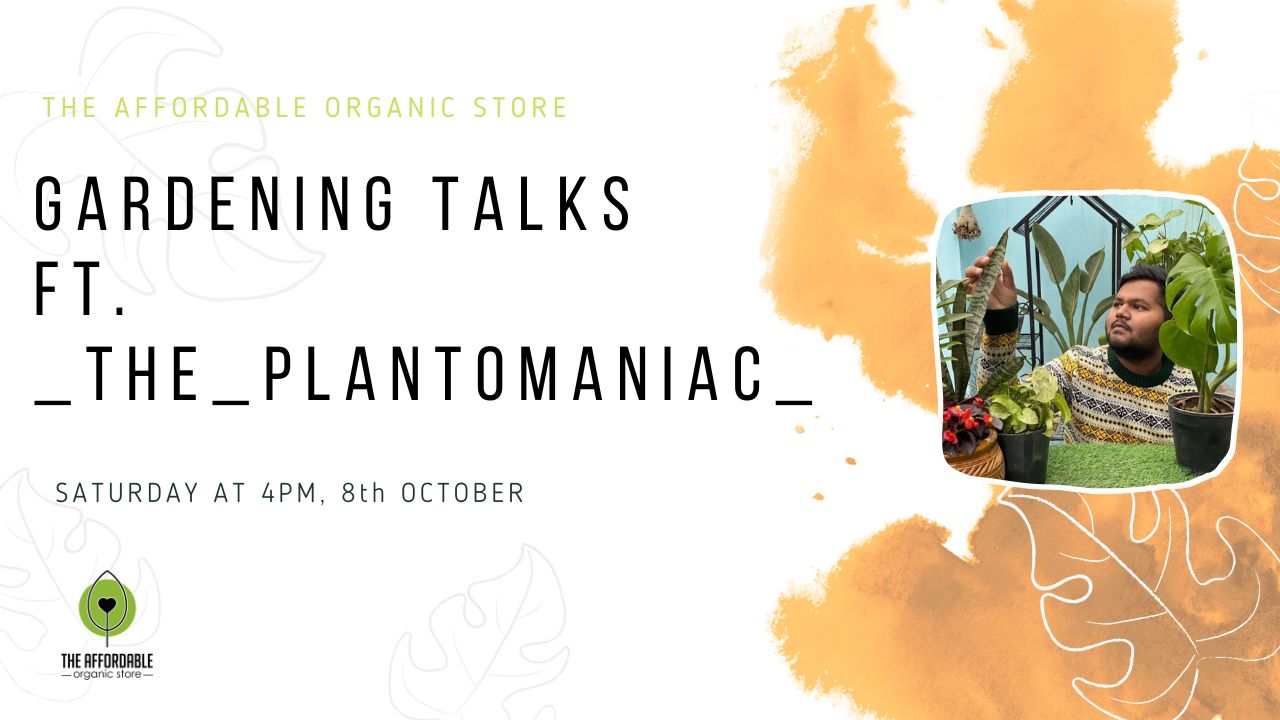
Tune in to our YouTube channel to watch our Gardening talks held on 8th October at 4 pm with Mr. Aditya Bagga who has answered our questions for you. He is a veterinary student, who loves plants and animals. He has deep knowledge about plants and you can learn more from him on his Instagram page “_the_plantomaniac_”.
Questions to be answered:
1. what soil to use for roses in pots
2. what soil to use for vegetable garden
3. what soil to use for germinating seeds
4. how to grow microgreens at home without soil
5. how to prepare a garden for winters
Also, you can use the code ADITYATAOS to get a 5% discount on TAOS Products. Do check it out on our website here.
Aditya and his fundamentals for Soil:
“Hello and welcome everyone to Gardening Talks featuring _the_plantomanic_. Today we will be answering some basic questions related to soil and to answer them for us we have Mr. Aditya Bagga with us. Hello Aditya, how are you?” Asked Zehra. “Hello ma’am, Good Afternoon, I am doing well. It’s my pleasure talking to you once again. Thank you the Affordable Organic Store and Taos for organizing this wonderful session.” Said Aditya. “Yes, before also we had a session with you, talking about Science behind Soil. So, we thought you are the right person to ask questions related to Soil this time also.” Said Zehra.
“Before going further, let me tell you all about Aditya. So, Aditya is a Veterinary student and a very passionate plant parent. He also shares a lot about the plant on his social media accounts. So, before beginning with the session, Aditya we would like to know a little about yourself?” Asked Zehra.
“Hello everyone and Hello ma’am, I am Aditya Bagga, and I am 20 years old. Gardening is my whole world, to me, gardening is my happiness. While talking about gardening I usually get very excited. Talking about myself, I am doing Veterinary Doctor Studies and priory I was a student in a university, doing BSc in Agriculture. So, it is said, if you have a hobby that stays in your heart, it stays forever with us.” Said Aditya.
Well said, Aditya. So, moving on to the first question for today,
1. “What soil to use for Roses in pots?” Asked Zehra.
“So, basically winter plants do broom in summer but are winter plants. So the basic rule for the winter-blooming plants is that the pH of the soil should be slightly acidic to neutral i.e. 6-7. So the soil mix for Roses, which I preferably use is where it has 20% of the soil and then 20-30% around Alluvial soil or the general potting mix, and 30% of Cocopeat & Vermicompost. Talking about vermicompost, is very important for Roses, as people say it is good for growth but generally it is for Nitrogen growth, as it leads to more folia and ultimately more buds and more flowers. For extra growth, Epsom salt can show magical results in Roses. So, generally, Roses grow best in open land but when you are growing the plant in pots, you have to keep in mind:
1. Soil should not be very tight, it should be loose.
2. The soil should also have a flow of water through it.
3. The pH of the soil.” Said Aditya.
2. “What soil to use for Vegetable gardens?” Asked Zehra.
“For a long time, it is said that Vegetable gardening should be done in open spaces. But in the modern era, like in towns and cities, people usually do it as a hobby. Yes, many professional gardeners and many home gardeners are doing it nowadays. But the basic rule is, we should use land soil as it is high in nutrition. We can also add on nutrition through, extra compost, and extra vermicompost, and can also use fertilizers for the growth of the plant. That I did, I divided the plastic water tank into 3 different parts for vegetable gardening. Usually, people do layers. So, the layers can be:
-
The first layer is Decorators which means using dead leaves and twigs in your garden, for getting minerals and nutrition after decomposing.
-
The second layer is Alluvial soil.
-
The third layer is Sand and Cocopeat, where sand provides space for the plant and cocopeat holds water for the plant.
-
The last layer should contain used leaves so that the water cannot get evaporated. So that the plant gets continuous nutrition and can hold water.
Talking about soil, you can use Alluvial soil. If you are living in cities, you can use a mixture of Sand and Soil 50% and other 50% Cocopeat. You can also go for organic, as compost usage as fertilizer for the better growth of the plant.” Said Aditya.
3. “What soil to use for germinating seeds?” Asked Zehra.
“Germinating seeds were known to us for a long time. As a student in schools, we use to do experiments in Science, grow them while keeping them in cotton, etc. So, for the successful growth of the plant, we should not use tight soil, as there would be the problem of the eruption of the seed. So, we usually use loose soil for germinating seeds. I generally use, like taking a tray and spreading Cocopeat and DAP granules, for DAP granules you can break the granule with the help of the hammer for better usage. And germinate the seed inside the soil. Using loose soil have advantages such as:
-
It has a good hold on the roots of the new plant.
-
New twigs will get more space to come out of the soil.
-
It will be convenient for the growth of the new plant.
You can also use Cotton for the germination of seeds. The main point is that you should use Cocopeat and DAP granules at the initial stage, even if you are doing organic farming. But using it in more than required can lead to bad results.” Said Aditya.
4. “How to grow micro-greens at home without soil?” Asked Zehra.
“So, you can answer this question in two ways. The first one is Conventional methods and also about the growth of the plant without soil. So, what I use, take a shallow tray that is kept under pots. In the shallow tray, put Cocopeat and 1-2 granules of DAP, and will keep the trap in Sun to get baked, as we do for food. Baking the soil is most important as it recharges the soil. I would prefer to grow micro-greens rather than purchase from outside. So, micro-greens are nutritious because when the parent plant has to make the new seeds, it put much energy, therefore this seed has maximum energy, and when the roots come out of the seed it is the peak point. So, micro-greens have the highest amount of nutrition than any other plant. So, even after sowing seed in the cocopeat, it takes 3-4 days to start the germination. At that time, we should always use Spray bottles to water the soil. You should never use a watering can or pipes to water the soil as it will disorder the seeds from their place. This point should be kept in mind, always maintain Humidity inside your soil. The more humidity inside your soil, the faster it will germinate. So after 2-3 days you will see the results and will witness the growth of the plant. This is the Conventional method, the plant will grow in one week and you can regrow them.
So for growing it without the soil. The use of the Hydroponic method is a very successful method nowadays. You can take a container where water should be flowing, you can install a small motor for that state. Now put a Thermocol in the water with holes in it. So it will act as a soilless medium for the growth of the plants. Hydroponic is a successful method used by many scientists, I have seen it during my BSc in Agriculture at my University. You can practice this method. The ready-to-go setups are also available in the market.” Said Aditya.
5. “How to prepare a garden for winter?” Asked Zehra.
“This is my favorite question. So in winter, we get hundreds of varieties at an affordable price. We have another option for growing micro-greens in loose aggregates of clay. Hydroponics, Perlite, and sand are the methods of growing micro-greens. Gardening is a smooth process if you began with one season you will go with that smoothly for a year. If by any chance it gets damaged in winter, the whole year is destroyed as you can’t get that Top-notch garden you expected. External garden preparation is very crucial for every gardener’s life and is practiced. The steps for preparing a winter garden are:
Grow the plant in the soil. So, regarding soil composition, winter flowering plants, since the soil should be loose, it should contain 40-45% Sand and the rest can be Cow dung manure, as it is important for foliar growth as the more buds the more will be the flowers. What my fundament says, have nitrogen fertilizer for growth and after having full growth you can have more buds on the plant and then more flowers.
1. Recharge your soil
So, recharge your soil in the Sun. by preparing the soil with the composition of 40% of Sand and 40-45% of soil and the rest as add-ons, as soil elements.
2. Selection of the seeds
It should be from trusted sources, I would highly recommend the Affordable Organic Store as I have been with the store for one year and had seen great results.
3. Selection of plants
Always, do this for smaller saplings, as they will adapt to the soil very fast. At the later stage, the root structure gets develops very well. Never go for those plants which already had flowering. You can go for a small plant that has developing buds and healthy foliage.
4. Acclimatize your plant
Keep the plant in your garden surrounding, so that they get habitual to the location and area.
5. Transplantation
So, remove the outer plastic polythene of the sapling pot and put it in the pot, and cover the surrounding area. Do keep in mind, for the starting few days keep the plant in shade, do not expose the plant to immediate/direct sunlight, and rather keep it at a place where partial sunlight comes.
Cycling Garden of the whole year. So, when you start gardening, you go through a time when you can see the finish/ending of the winter garden and seasonal gardening plants. After that time, we are introduced to the spring season, where you can see the finishing of the winter garden but the evergreen garden survives. And then after the spring season, the summer season and summer garden are introduced. So, winter gardening is a very crucial step for the whole year’s garden.
“Thank you so much for the detailed explanation, for the preparation of the winter garden, as you have solved all our doubts.” Said Zehra.
Thank you so much, Aditya!
“Thank you so much, Aditya, for giving your valuable time and knowledge, I hope everyone enjoyed the session as I did today. It was a pleasure to learn so much about soil. Thank you all of you for joining the workshop.” Said Zehra.